How to Skip the Microsoft Account on Windows 11 (2026 Methods)

Microsoft made local accounts harder with every Windows 11 build. The "Sign in with Microsoft" requirement that appeared in 22H2 has been progressively locked down — the original OOBE\BYPASSNRO script was removed from System32 in spring 2025 cumulative updates, and several network-disconnect tricks were patched. The methods below are the ones that still work in May 2026, in order of reliability.
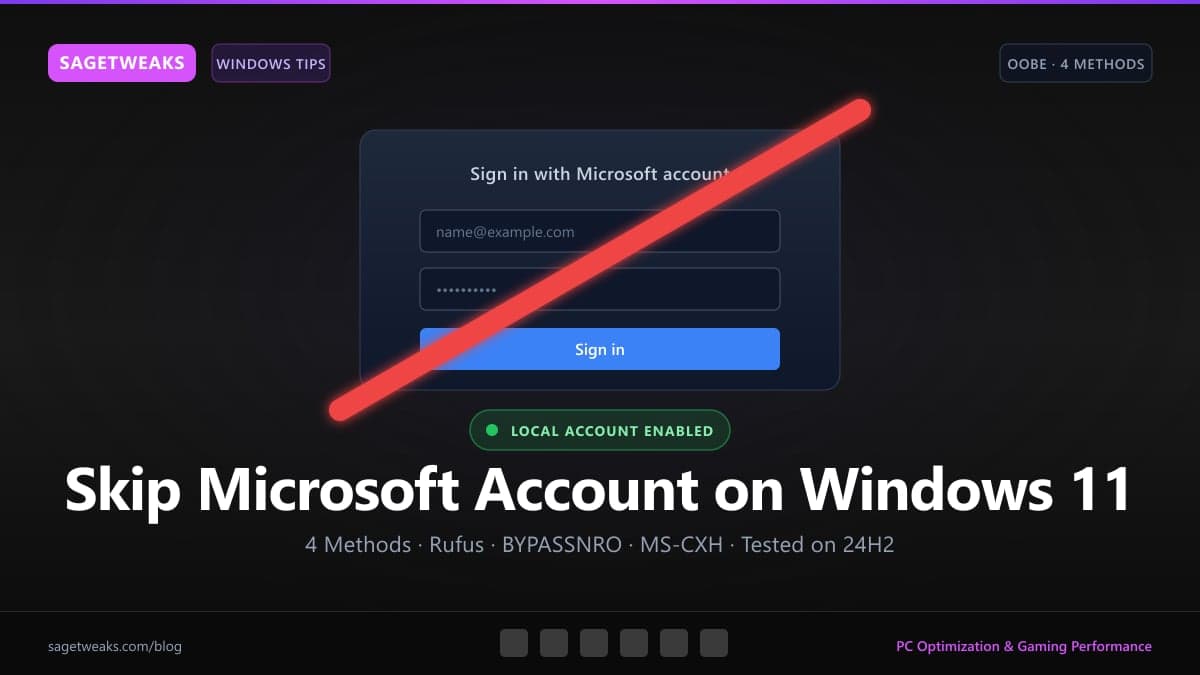
Tested on Windows 11 24H2 (Build 26100). Last verified May 2026.
Why Windows 11 Requires a Microsoft Account by Default
Microsoft's stated reasoning is OneDrive integration and account recovery. The unstated reality of an MS-account-bound install: device telemetry is tied to a global identity, BitLocker auto-encrypts keyed to that identity, Edge sync activates, OneDrive auto-backup turns on, and Recall (24H2 Copilot+ PCs) becomes available.
For a gaming PC where you don't need cross-device sync, MS-account binding adds telemetry surface and locks system-level settings behind a remote identity. A local account avoids all of that — you can still sign into Microsoft Store apps per-app if you want them, just not the OS itself. For the broader hardening pass, see our Windows 11 privacy settings for gaming guide.
Method 1 — Rufus Modified ISO (Recommended)
The cleanest method. Free, open-source, takes 5 minutes during USB creation.
- Download the official Windows 11 24H2 ISO from
microsoft.com/software-download/windows11 - Download Rufus 4.6+ — only from the official site
- Plug in an 8GB+ USB drive
- Open Rufus → select your USB → select the ISO → click START
- The "Windows User Experience" dialog appears. Check:
- ☑ Remove requirement for an online Microsoft account
- ☑ Create a local account with username (set a name)
- ☑ Disable BitLocker automatic device encryption (recommended for gaming PCs)
- Optionally: Disable data collection (skips privacy questions during OOBE)
- Click OK → Rufus modifies the ISO during USB write
The resulting USB installs Windows 11 with a local account — the MS account screen never appears. If you have any choice in the matter, this is the method.
Method 2 — OOBE\BYPASSNRO Command
The classic workaround. Status as of May 2026: removed from System32\OOBE\ in patched 24H2 builds (post-March 2025 cumulative updates), but still works on un-updated installation media — and can be reinstated manually.
On older media that still has the script:
- At the "Let's connect you to a network" screen, press Shift + F10 to open Command Prompt
- Type
OOBE\BYPASSNROand press Enter - The PC reboots back to OOBE. Select "I don't have internet" → "Continue with limited setup"
- Create your local account
To check whether your media has the script: at the OOBE network screen, Shift+F10 → dir C:\Windows\System32\OOBE\bypassnro.cmd. If it's missing, drop to Method 3.
To reinstate manually on patched builds: Shift+F10 →
reg add HKLM\SOFTWARE\Microsoft\Windows\CurrentVersion\OOBE /v BypassNRO /t REG_DWORD /d 1 /f
shutdown /r /t 0
After reboot, the network screen offers "I don't have internet" again.
Method 3 — start ms-cxh:localonly Shortcut
The current go-to on patched 24H2. Microsoft hasn't removed this URI handler yet (May 2026).
- At the network connection or sign-in screen, press Shift + F10 to open Command Prompt
- Type exactly:
start ms-cxh:localonly - Press Enter — a local account creation dialog appears immediately
- Set username and password → done
This calls the internal Microsoft Account Customer eXperience Host (cxh) URI handler with the localonly parameter — a shortcut Microsoft uses internally for OEM provisioning. Until they patch the URI, this is the most reliable post-March-2025 method.
If start ms-cxh:localonly does nothing, the URI was patched in your build. Drop to Method 4.
Method 4 — Disconnect Network During Setup
Legacy fallback. Patched on current 24H2 — the installer now blocks proceeding without network on most builds — but still works on older OEM-shipped media.
- Don't connect Wi-Fi at the network screen
- If on Ethernet, unplug the cable before starting setup
- The installer should fall back to "Continue with limited setup"
On a fresh 24H2 install with a current ISO, pure network-disconnect will hang on the network screen with no proceed button. Combine with Shift+F10 → oobe\bypassnro (Method 2) instead. If you're on this method as a last resort, it's a sign your installation media is current — Method 3 will likely work better.
After Install — What Changes With a Local Account
The actual differences once you're in:
- No automatic OneDrive backup — Documents/Pictures stay on local disk
- No Edge sync — favorites and history are device-local
- No automatic BitLocker encryption — drive isn't encrypted by default (enable manually if needed)
- Microsoft Store still works — sign in per-app, not OS-wide
- Windows Update still works — handled by the OS, independent of account
- No Recall (24H2 Copilot+ PCs) — Recall requires MS account binding
What you lose: Find My Device, automatic device sync across machines, Microsoft Family Safety. None of those matter on a single gaming PC.
Convert an Existing Microsoft Account to Local
If you already installed with an MS account and want to migrate without reinstalling:
- Settings → Accounts → Your info → "Sign in with a local account instead"
- Verify your current MS account password
- Set a local username and password
- Sign out, sign back in with the new local credentials
The MS account itself isn't deleted — just unlinked from this device. Re-link later via Settings if you change your mind.
Why This Matters for Gaming PCs Specifically
A local-account Windows 11 install boots noticeably faster — the MS account login flow does several network round-trips per sign-in. Boot time savings of roughly 4–8 seconds are typical on NVMe SSDs (varies with installed startup app count and network conditions). For the full boot-time pass, see our Windows 11 boot speed guide.
Local accounts also avoid the Recall and AI-Explorer integration paths that 24H2 introduced — those features check MS account state at startup. Gaming PCs don't need either.
The First 5 Things to Do on a Fresh Local-Account Install
Once you're at the desktop:
- Update Windows fully — Settings → Windows Update → Check for updates → reboot
- Install GPU drivers from the vendor — nvidia.com or amd.com, not Windows Update
- Run a debloat pass — see our Windows 11 24H2 debloat guide for the full plan, or bloatware removal for the short version
- Apply privacy settings — Windows 11 privacy settings for gaming
- Run the full new-PC checklist — PC optimization checklist for a new Windows PC covers the rest
FAQ
Will my Microsoft Store games still work with a local account? Yes. Sign into the Store app individually — it doesn't bind the OS. Xbox app, Game Pass, and purchased games all work the same.
Can I add my MS account later if I change my mind? Yes, anytime. Settings → Accounts → "Sign in with a Microsoft account instead." The reverse is equally easy.
Does Microsoft penalize local-account users? No. Updates, Defender, drivers, and core features work identically. The MS-account-only features (Recall, OneDrive auto-backup, Find My Device) are simply not available.
Will these methods work on Windows 11 25H2? Likely some will, some won't. Microsoft has patched bypass routes consistently across feature updates — Method 1 (Rufus) is the most resilient because the modification happens before installation. Bookmark this guide; we'll re-test and update after 25H2 lands.
Local account, no telemetry binding, full control over your install. The next step is the gaming side: SageTweaks ships in 5 minutes after a clean install and handles the registry, services, and timer-resolution tweaks that turn a fresh local-account Windows 11 into a gaming-tuned one.
PC performance enthusiast and Windows optimization specialist with 10+ years tuning gaming rigs. Contributor to SageTweaks.
More from Alex →SageTweaks
Ready to review guided PC optimization?
Use SageTweaks to review FPS, input latency, and Windows overhead workflows. Guided optimization for Windows 10 & 11.
- Guided GPU, CPU & power plan workflows
- Dedicated and detected-game FPS profiles
- Registry cleaner & startup manager
- Monthly, Yearly & Lifetime plans
30-day money-back guarantee
Next steps
Free PC optimization checklist
The 47-tweak manual version — yours to keep.
Free per-game FPS cheat sheets
Printable settings for Valorant, CS2, Fortnite, Apex.
See every SageTweaks feature
System tweaks, game profiles, cleaner, registry, power plans.
How we keep your PC safe
VirusTotal report published, rollback support, clear network use.
Read user reviews
Read public feedback and product notes before you buy.
Compare plans
Monthly $5.99 · Yearly $49.99 · Lifetime $79.99.
Related Posts
How to Remove Copilot from Windows 11 (Permanent Fix 2026)
Remove Copilot from Windows 11 for good. 4 methods (Settings, Group Policy, registry, debloat) — including how to stop it returning after updates.
Windows 11 24H2 Debloat Guide — What to Remove, What to Leave Alone
Debloat Windows 11 24H2 the safe way. What's new to remove (Copilot+, Recall), what's risky to touch, and the right tool for each level of cleanup.
Windows 11 24H2 Gaming: What Changed and How to Optimize It
Windows 11 24H2 changed several settings relevant to gaming. This guide covers what broke, what improved, the new HVCI default, and how to optimize 24H2 for maximum gaming performance.